Beautiful Font Lowercase S to Z: Real-Project Review
As a designer who stitches custom orders nearly every day, I’ve learned to be picky about embroidery fonts. The wrong letter shape or a poorly digitized curve can turn a simple personalized project into a frustrating mess. I recently picked up the Beautiful Font Lowercase S to Z set to use on a batch of back-to-school tote bags, and I want to share exactly how these letters hold up when you’re not just looking at a screen mockup, but actually running your machine and preparing a finished product that someone will carry around town.
Right away, I appreciated that this set focuses on the second half of the alphabet. It’s a practical choice if you already own the first portion or if you specifically need letters like “s,” “t,” and “w” for the names and words that keep popping up in your orders. When I opened the embroidery file, I was curious to see whether the digitizer maintained a consistent rhythm across all eight characters, because even a slight shift in letter height or slant can spoil a multi-letter word. Spoiler: the consistency is solid, but there are a few places where you’ll want to test before stitching on your final fabric.
First Impressions and Visual Personality
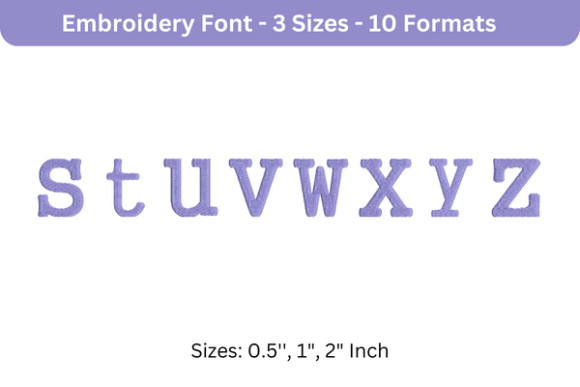
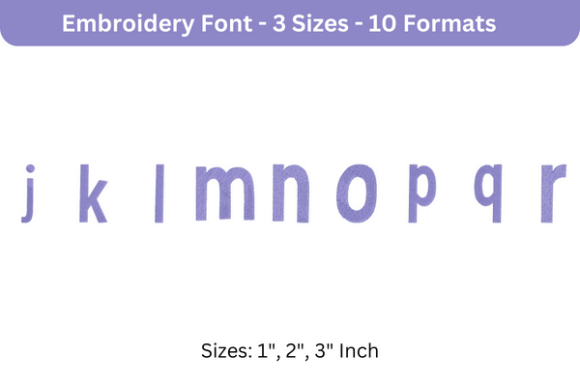
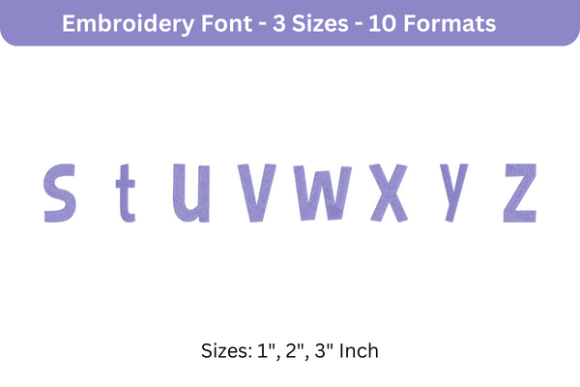
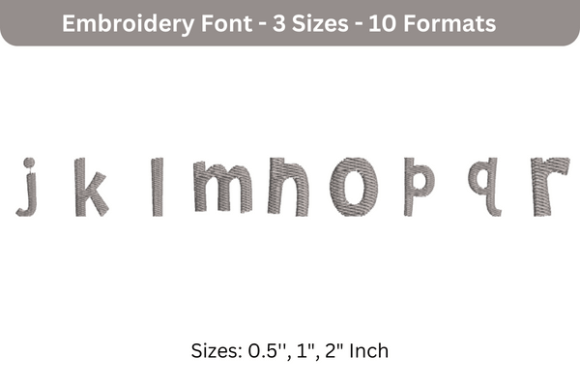
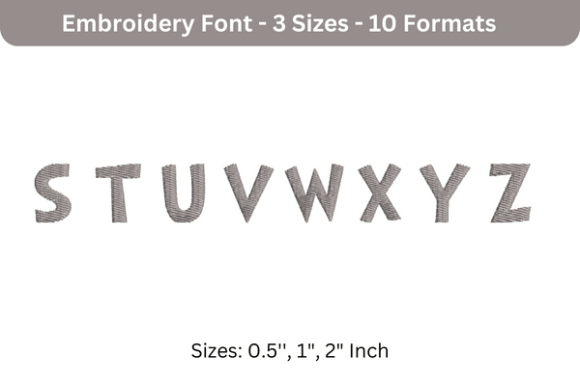
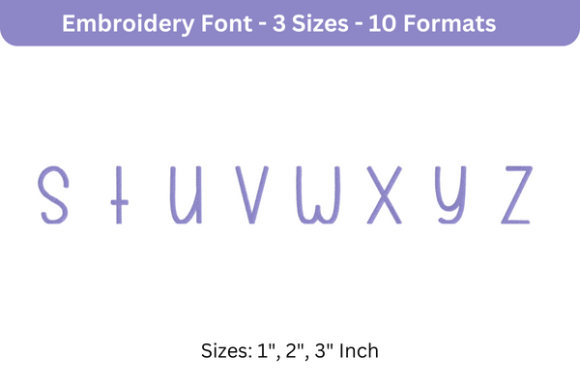
The Beautiful Font Lowercase S to Z strikes a balance between a playful hand-lettered feel and the clean readability you need for a customized product. The curves on the lowercase “s” and “y” have a gentle, approachable flow, while the “t” and “v” stay crisp enough to avoid looking muddy on textured fabric. I wouldn’t call it a formal script, nor is it a blocky sans-serif. It lives somewhere in the middle—a friendly, modern style that works well for children’s items, casual apparel, and home goods. The mood is warm and inviting, which makes sense for the Back To School category, where you’re often stitching lunch bags, pencil pouches, or small backpack tags.
When I compare the letterforms side by side, the “w” and “x” have a nice sense of proportion, but the lowercase “z” felt slightly narrower than I expected. It’s not a dealbreaker, but if you’re spelling a word that ends with “z,” you may want to double-check the spacing in your software. Small adjustments to the kerning can make a huge difference in how professional the final handmade product appears.
Putting the Letters to Work on a Real Back-to-School Project
My test run involved a simple but realistic scenario: a dozen custom canvas tote bags for a local boutique’s back-to-school line. The shop owner wanted each bag to feature a child’s name in a soft, lowercase style, and several of the names ended with the letters covered in this set—think “Sofia,” “Zoe,” “Violet,” and “Wyatt.” Because the Beautiful Font Lowercase S to Z covers exactly the range I needed for those tail-end letters, it saved me from buying a whole typeface just to complete the words.
I loaded the machine embroidery design for the letter “s,” hooped a piece of medium-weight cotton canvas with a cutaway stabilizer, and chose a muted coral thread that contrasted nicely against the natural fabric. The stitch-out was smooth, with no thread breaks or needle drags. The satin stitch edges on the “s” curve were dense enough to look polished but not so heavy that they puckered the canvas. I repeated the process with “t,” “y,” and “z,” and each one maintained the same stitch quality. When I showed the finished bags to the boutique owner, she immediately noticed how the letters felt cohesive—like a real typeface, not a random assortment of shapes.
Fabric and Stabilizer Considerations
One of the biggest mistakes I see makers make with a stitch font like this is treating every fabric the same. The Beautiful Font Lowercase S to Z performs best on stable, non-stretchy materials. On the canvas tote, it was a dream. When I tried the same design on a lightweight cotton jersey for a sweatshirt embroidery test, I had to switch to a fusible mesh stabilizer and float the fabric to prevent tunneling. The “y” and “v” letters, with their diagonal strokes, were especially prone to slight distortion on the stretchy knit, so I recommend a topper if you’re stitching on anything fleece or loosely woven.
For baby embroidery or tiny items, you’ll need to pay attention to the finished letter size. The default size on my screen was roughly 1.5 inches tall, which felt right for a name on a pocket or a bib. If you shrink the letters below one inch, the “s” and “z” can lose their inner curves, and the satin stitch might start to look crowded. Always run a stitch-out on the actual fabric and size you plan to use, and keep your hoop size in mind—these letters are best suited for a 4×4 hoop or larger when you’re spelling a full word.
Stitch Quality and Small Details
The digitizer used a mix of satin stitch for the main letter bodies and a light running stitch for certain decorative elements, which gives the font a bit of texture without being fragile. The “u” and “v” letters have a subtle taper at the top that looks elegant, but I noticed the “v” underlay could use a little more density when stitched on dark fabrics like navy or black. On lighter backgrounds, it’s perfectly fine, but on a dark custom apparel piece, the thread coverage might show the fabric peeking through if you’re not careful with your thread color choice. I suggest testing a dark swatch first, and if needed, adjust the stitch density in your software or choose a slightly thicker thread.
The lowercase “w” is a good test of a digitizer’s skill because of the multiple peaks. In this set, the “w” is clean and the points meet nicely, with no gaps or overlapping stitches. The “x” and “y” also demonstrate good node control, with the “y” tail extending far enough to feel balanced. Overall, the stitch density feels appropriate for a wide range of projects, from tote bag design to apron decoration.
Where This Font Shines (and Where It Needs Caution)
I can see the Beautiful Font Lowercase S to Z becoming a go-to for anyone who makes personalized gift items. It’s especially charming on kitchen towels, pillow covers, and fabric bookmarks. Because the letters have a slight hand-drawn quality, they add warmth to a holiday embroidery project without being too cutesy. For a craft business owner, this means you can offer a signature look that feels custom and thoughtful, even if you’re churning out multiple orders.
However, I’d be cautious about using these letters on heavily curved surfaces like baseball caps with a center seam. The satin stitch on the “s” and “z” can catch on the seam if the registration isn’t perfect, and the “t” crossbar might look slightly tilted. It’s not impossible, but you’ll need to slow down, use a cap hoop if your machine supports it, and probably baste the seam flat. For flat or gently curved items, like a pillow cover or a flat-front tote, the letters stitch out beautifully.
Commercial Use and Real-Life Value
If you’re an Etsy seller or a small shop product creator, you’re probably thinking about how this font affects your bottom line. The Beautiful Font Lowercase S to Z adds a professional polish to items that can command a higher price because the lettering looks custom. Clients respond to consistent, friendly typography, and that’s exactly what you get here. When I photograph the finished bags for a printable mockup or a listing, the letters photograph well and don’t distract from the product itself. That visual clarity builds customer trust and makes your shop look more established.
Before you sell finished items, though, confirm the commercial embroidery license. The product description mentions it’s a machine embroidery design file, but I always recommend checking whether the license allows you to stitch and sell physical products, or if it’s restricted to personal projects. The same goes for using the design in digital embroidery file bundles or design assets—clear terms protect your business.
A Few Practical Reminders for Embroidery Designers
I’ve been burned before by assuming a design will stitch perfectly on every fabric, so here’s a quick checklist I use when working with any new embroidery font, including this one:
- Test on scrap fabric first, especially if you’re mixing thread brands or colors.
- Check thread color contrast on both light and dark backgrounds—what looks great on white may disappear on charcoal.
- Review the stitch density and adjust if you’re stitching on a particularly thick or thin fabric.
- Confirm your hoop size and the actual letter dimensions before starting a batch.
- Inspect small details like the “y” tail and “s” loop at the size you intend to stitch.
- If you’re creating a black and white mockup for a client, the letters maintain their shape well, but the “z” might look slightly heavy—keep that in mind.
- Use a proper stabilizer for the fabric type; don’t skip the topper on fluffy or textured materials.
- If you’re planning to sell the finished product, double-check the licensing for commercial use.
All in all, the Beautiful Font Lowercase S to Z is a reliable, well-digitized set that fills a specific need for the back half of the alphabet. It won’t replace a full typeface, but it complements one beautifully and saves you from buying letters you don’t need. For back-to-school projects, boutique branding, and everyday personalized gift work, it’s a smart addition to your embroidery library.